Safety Bollard & Warning Post Installation: Step-by-Step Guide
Safety bollards or warning posts are powerful yet simple solutions for traffic management, pedestrian protection, and infrastructure security. Whether used in front of storefronts, along pedestrian walkways, or within parking areas, these posts can prevent vehicle intrusion and improve overall safety. There are two common types: the embedded safety bollard, which is fixed into the ground for long-term durability, and the removable warning post, which offers flexibility for temporary or adjustable use. While selecting the right type of bollard is essential, careful and efficient installation for both types is just as important to reach their full potential. In this guide, we will walk you through the practical differences between fixed bollards and removable warning posts.
Installing Embedded Safety Bollards
Installing a fixed bollard typically involves embedding it into concrete, making it ideal for locations where permanent protection is required.
1. Pre-Installation Preparation
Before installation, you’ll need to prepare a tool kit:
• Electric hammer drill (with diamond-tipped bit)
• Spirit level, tape measure, chalk or marker
• Epoxy resin, anchor bolts, quick-set concrete
• Safety gear (gloves, goggles)
Meanwhile, you need to conduct a site inspection to ensure no underground utilities are present—calling a local utility locating service is recommended. Measure the spacing between bollards, typically 90-120 cm apart, though this may vary based on your application.
2. Installation Steps
Step 1: Mark Drill Points
- Mark bollard center positions with chalk, ensuring proper alignment.
Step 2: Drilling
- Hole diameter: Match bollard base (typically 1.27 cm larger than base).
- Hole depth: 1/3 of bollard height (e.g., 30 cm depth for 90 cm bollards).
Step 3: Secure Base
- Inject epoxy resin into hole → Insert anchor bolts.
- Position bollard base → Verify vertical alignment with level.
Step 4: Concrete Pouring
- Fill hole to ground level → Smooth surface.
- Curing time: 24-48 hours (avoid any impact during this period).
3. Key Considerations
- Do NOT move bollards before concrete fully cures.
- Use freeze-resistant concrete in subzero temperatures.
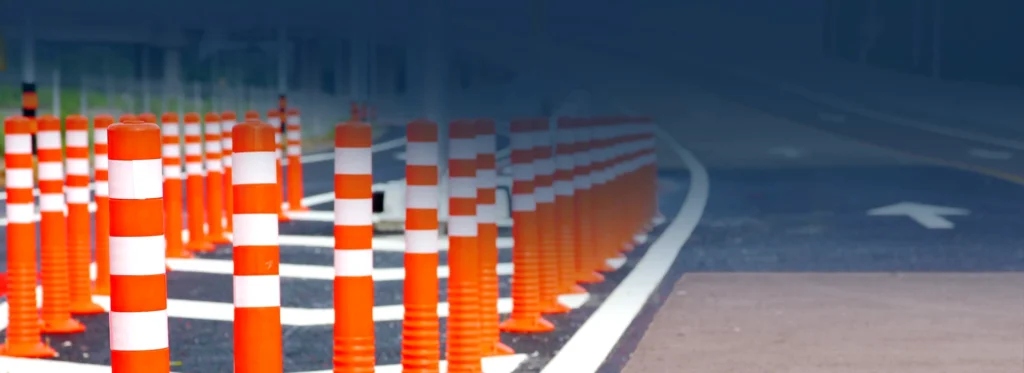
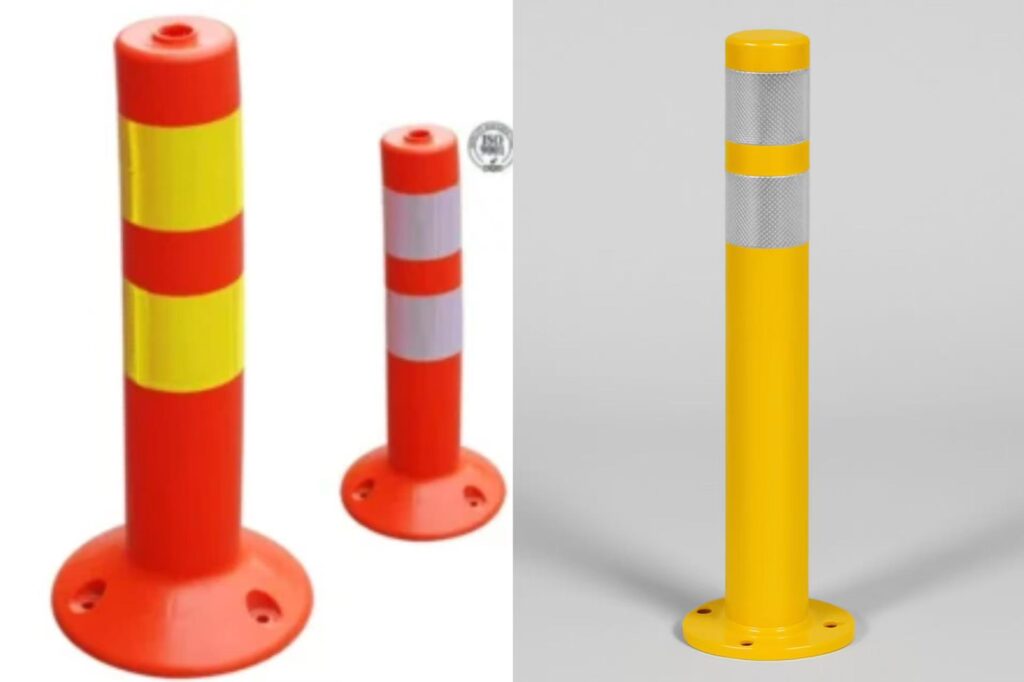
Installing Removable Warning Posts
By comparison, installing a removable warning post is a more straightforward process that offers flexibility for sites requiring temporary or adjustable access control.
1. Pre-Installation Preparation
Before installation, you’ll need to prepare a tool kit:
- Impact drill & expansion bolt kit
- Wrench, level
Besides, ensure the mounting surface is solid—typically concrete or asphalt with a minimum thickness of 4 centimeters and free from visible cracks.
2. Installation Steps
Step 1: Positioning & Marking
- Mark bolt hole locations (matching post’s base spacing)
Step 2: Drilling
- Drill depth: Slightly longer than bolt length
- Remove debris from holes (ensures tight fit)
Step 3: Secure Bollard
- Insert expansion bolts → Tighten until fixed
- Place bollard base → Lock with wrench
Step 4: Stability Test
- Gently shake to verify firmness
- Removable by reversing steps
3. Key Considerations
- Monthly bolt tightness checks recommended
- Surface-mounted type unsuitable for high-impact areas
How to Choose the Right Type?
For long-term and high-security applications like plazas, gas stations, or government buildings, fixed bollards are often the preferred solution. Their permanent concrete installation ensures exceptional durability, often with impact resistance exceeding 5 tons. This makes them ideal for environments where vehicle intrusion must be strictly prevented. However, this level of security comes with the need for more complex installation, which may not be suitable for projects with tight timelines or evolving access needs.
On the other hand, removable bollards offer outstanding versatility without compromising basic safety. They are particularly well-suited for locations where vehicle access must be managed dynamically—such as school drop-off zones, crosswalks, and temporary construction sites. Their socket-based designs allow for quick deployment and removal—often within minutes—without the need for heavy equipment. This not only reduces installation costs but also allows for greater operational efficiency. While their typical impact resistance ranges from 1 to 2 tons, it is sufficient for deterring accidental contact or unauthorized entry in restricted areas.
BestWay Warning Posts: Built for Every Scenario
At BestWay, we offer a wide range of high-visibility warning posts that meet your traffic safety and access control needs. Our products feature:
- Lightweight but impact-resistant design
- UV-stabilized materials for all-weather visibility
- Quick deployment and modular connection options
- High-intensity reflective strips
- Various sizes and types
Visit our website to browse the full catalog or contact us directly. We’ll help you choose the perfect solution. Your safety infrastructure starts here.
FAQs
Q: Can warning posts be used at night?
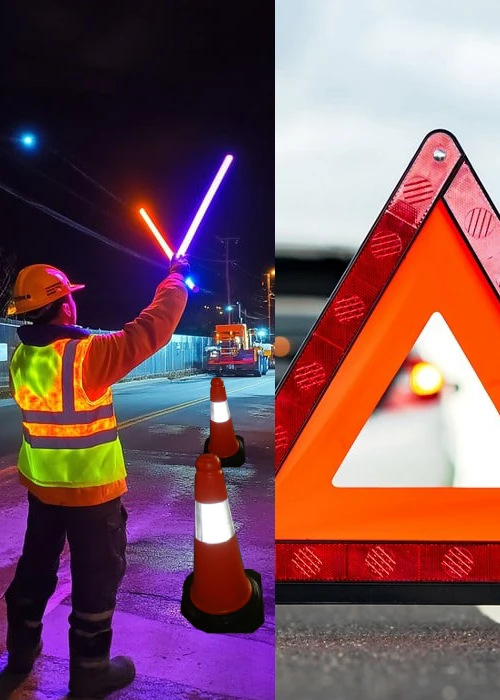
A: Yes. Our posts are equipped with high-intensity reflective strips for visibility in low light.
Q: How often should I inspect my warning posts or bollards?
It’s recommended to do a monthly inspection to check for:
- Loose anchor bolts
- Damaged reflective tape
- Rust or surface corrosion (for steel posts)
- Tilt or movement in embedded posts
Q: How do I increase night-time visibility of warning posts?
Use high-intensity reflective tape, solar-powered LED caps, or fluorescent colors like orange or lime yellow.